 how-to
How to Plan a Modern Small Bathroom Remodel That Works
Last Updated: November 1, 2026
Quick Summary
A modern small bathroom remodel reworks a compact bathroom's layout, storage, light and finishes so the room works harder without gaining a single square metre. We plan these projects around one rule: every change must earn its space. Fixing a swinging door, a boxed-in vanity and dark tile transforms the room.
- Swap the swing door for a pocket or sliding door to reclaim the floor space it used to sweep.
- Build storage into the walls with recessed niches, a flush medicine cabinet and vertical shelving.
- Choose a low-profile shower tray sized to your exact alcove and measure the alcove in three places.
- Use light colours, large-format tile and a backlit mirror to make a compact space feel larger.
- Waterproof wet areas with a bonded membrane before tiling, since cheap jobs fail at waterproofing.
Table of Contents
- Modern Small Bathroom Remodel: What Actually Changes the Room
- Small Bathroom Layout Ideas That Buy You Room to Move
- Small Bathroom Storage Ideas That Use the Walls, Not the Floor
- Choosing the Best Shower Base for a Small Bathroom
- Light, Tile and Mirrors: Making a Compact Space Feel Larger
- Measurements, Clearances and Aging-in-Place Upgrades
- Sequencing the Job: Permits, Waterproofing and Trades
- Small Bathroom Remodel Before and After: What to Expect
- Frequently Asked Questions
Modern Small Bathroom Remodel: What Actually Changes the Room
A modern small bathroom remodel reworks a compact bathroom's layout, storage, light and finishes so the room works harder without gaining a single square metre.
Most compact bathrooms fail for boring reasons: a swinging door eats a metre of floor, a boxed-in vanity blocks the corner, a dark tile makes the ceiling feel low. Fix those three and the room transforms.
Small Bathroom Layout Ideas That Buy You Room to Move
Layout is where the real gains hide. A clever plan can make a tight room feel twice as usable, and it costs less than most people expect.
Three moves do most of the work:
- Swap the swing door for a pocket or sliding door. You reclaim the floor space the door used to sweep.
- Move the door off the centre line. This frees a full wall for storage or a wider vanity.
- Keep the wet zone in one corner. Grouping the shower, sink and toilet cuts wasted walking space.
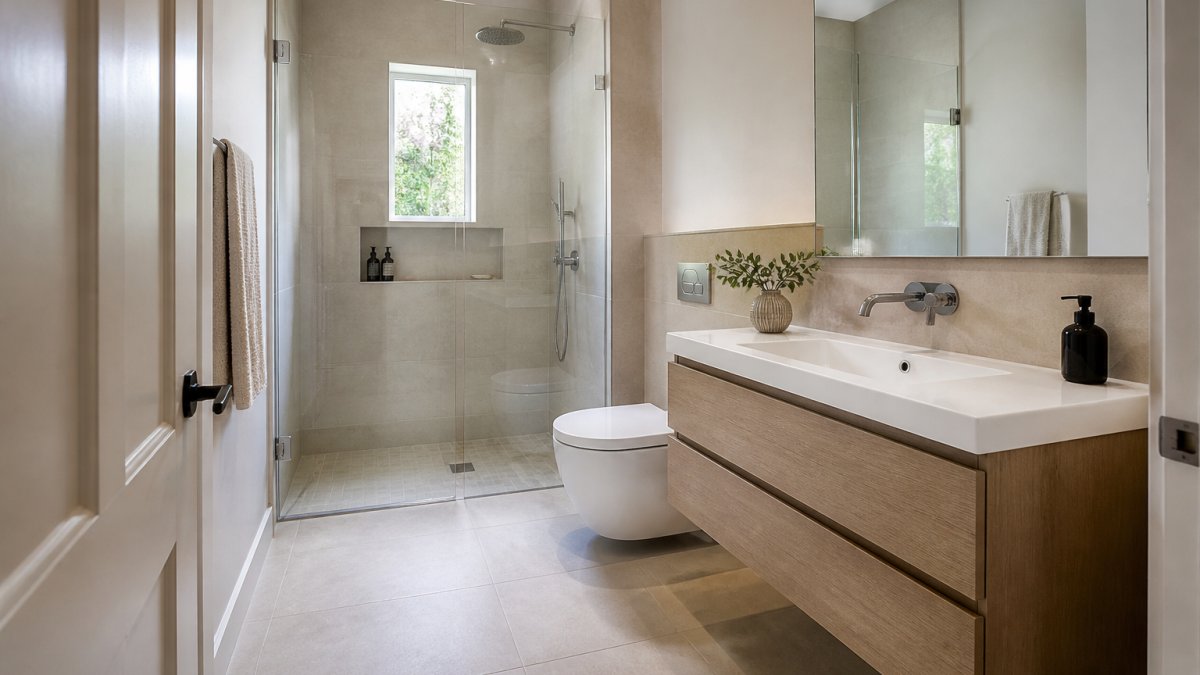
Wet Rooms, Walk-In Showers and Straight Bath Swaps
A wet room removes the shower tray lip and enclosure frame, so the floor reads as one continuous surface, a visual trick that makes a compact space feel calmer.
If you are replacing a tub, a straight bath keeps the footprint identical while a walk-in shower opens the room up. For a full walkthrough of the swap, see our guide on how to install a walk-in shower step by step.
Wall-Hung Toilets, Floating Vanities and Pedestal Sinks
Wall-hung toilets put the cistern inside the wall, so the bowl floats and the floor stays clear. A floating vanity does the same at eye level: visible floor underneath reads as space. A pedestal sink is the budget version, though it gives up storage.
Watch out: wall-hung fixtures need a reinforced frame behind the wall. Plan that before the drywall goes up, not after.
Small Bathroom Storage Ideas That Use the Walls, Not the Floor
Storage is the difference between a remodel that photographs well and one that survives a real morning. Build storage into the walls instead of parking furniture on the floor.
Start with these:
- Recessed niches in the shower wall for bottles and soap.
- A recessed medicine cabinet that sits flush with the tile.
- Vertical shelving between the studs above the toilet.
Floor-standing cabinets look tidy in photos but shrink the room fast. Wall-mounted storage keeps the floor line visible, which is what your eye reads as space.
Choosing the Best Shower Base for a Small Bathroom
The best shower base for a small bathroom is a low-profile, correctly sized tray that fits your exact alcove and drains toward the outlet without pooling.
Measure the alcove in three places, top, middle and bottom. Older walls are rarely square, so verify dimensions before ordering a tray.
For compact rooms, consider:
- A low-profile acrylic tray for easy installation and a clean look.
- A linear drain so the floor slopes one way and the tray sits flush.
- A textured base for grip, which matters more as you age.
Sizing and materials are covered in more depth in other guides on the best shower base for a small bathroom.
Light, Tile and Mirrors: Making a Compact Space Feel Larger
Light and finish choices do more for perceived space than any other part of the remodel. A dark, flat room feels small no matter how well it is laid out.
Here is what works:
- Light colours on walls and ceiling bounce light around the room.
- Large-format tile means fewer grout lines, so the eye travels further.
- A backlit mirror adds light exactly where you need it and doubles the sense of depth.
Natural light is the best tool of all. If there is a window, keep the sill clear and use a frosted glass panel for privacy without blocking the glow.
Measurements, Clearances and Aging-in-Place Upgrades
Getting the numbers right separates a bathroom that feels cramped from one that feels easy. In a compact room, a few centimetres decide whether a door can open, a drawer can pull out, or a walker can turn.
The clearances that matter most
Clearances to plan around are commonly drawn from accessible design guidance; confirm current requirements with your local building department:
- Toilet: allow ample clear floor width at the bowl and enough space in front for a seated user and a caregiver to assist.
- Vanity: allow enough clear floor in front of the vanity so drawers and doors open without stepping back into the shower.
- Shower: a generous finished opening and a curbless or low-threshold entry make stepping in safer.
Aging-in-place upgrades that pay back
Aging-in-place design is not a separate remodel; it is a set of choices you make once and benefit from for decades. The upgrades that matter most in a small bathroom:
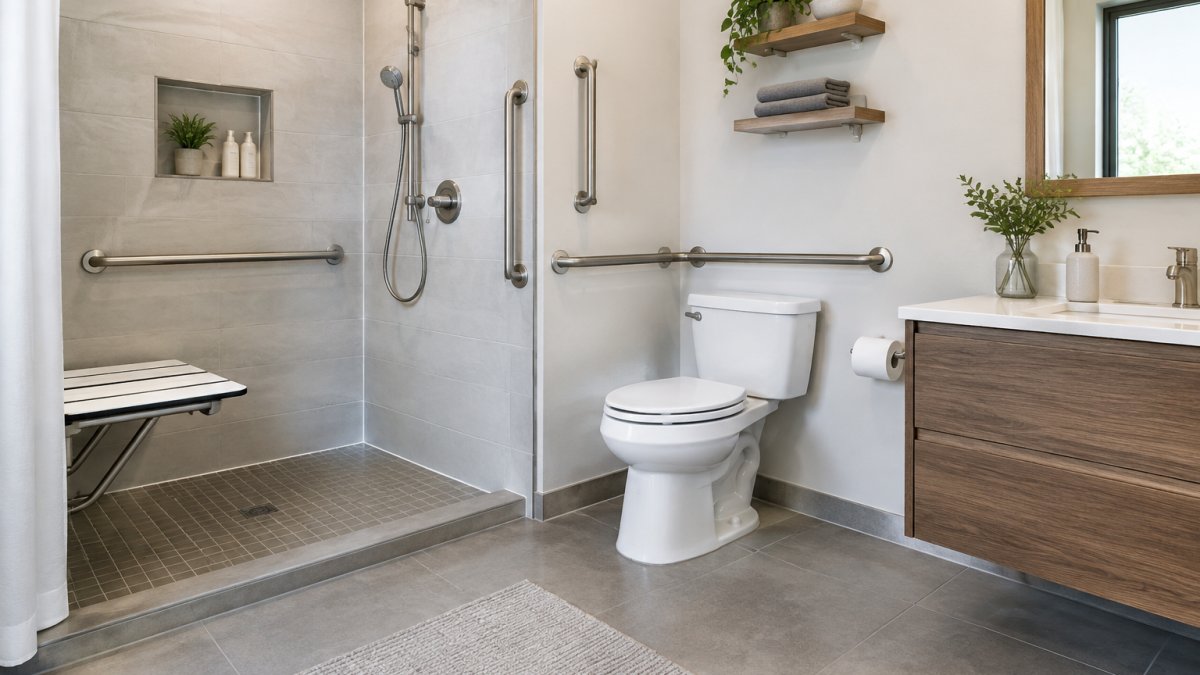
- Grab bars in the shower and beside the toilet, anchored into blocking installed before the tile goes up.
- A curbless or low-threshold shower with a linear drain, so the floor slopes one way and there is no lip to trip over.
- A comfort-height toilet, which is easier to sit down on and stand up from.
Planning these upgrades into the remodel is generally easier than retrofitting them, because the blocking, drain position and valve rough-in happen before the walls close. Prioritising these upgrades is worth planning early if the budget only stretches to a few of them. To weigh the trade-offs, read about the benefits of aging in place bathroom remodel projects.
Sequencing the Job: Permits, Waterproofing and Trades
The order you do things in decides whether the project runs smoothly or stalls. In a small bathroom, where every trade works in the same few square metres, sequencing matters more than in a large one.
Permits: what usually needs one
Permit rules are set by your municipality, so confirm locally before demolition. A permit is often required when you:
- Move or add plumbing lines (relocating a toilet, sink, or shower drain).
- Add or relocate electrical circuits, receptacles, or lighting inside the wet zone.
- Remove or alter a load-bearing wall, or enlarge a window or door opening.
Cosmetic work, swapping a vanity in the same location, retiling, painting, replacing a like-for-like fixture, often does not need a permit, but the only reliable answer is your local building department. Budget time for permit review, since a required inspection discovered after the walls are closed can cause delays.
The sequence that avoids rework
- Plan and quote. Lock the design, confirm the fixture schedule, and get a written scope with a line-item breakdown. Measure the room at three heights before you finalise anything.
- Check permits and inspections. Confirm what your municipality requires and when each inspection must happen, rough-in plumbing and electrical are usually inspected before the walls close, and the final inspection happens after finishes.
- Demolish and protect. Strip to the studs in the wet zone, cap the water, and protect the rest of the home from dust.
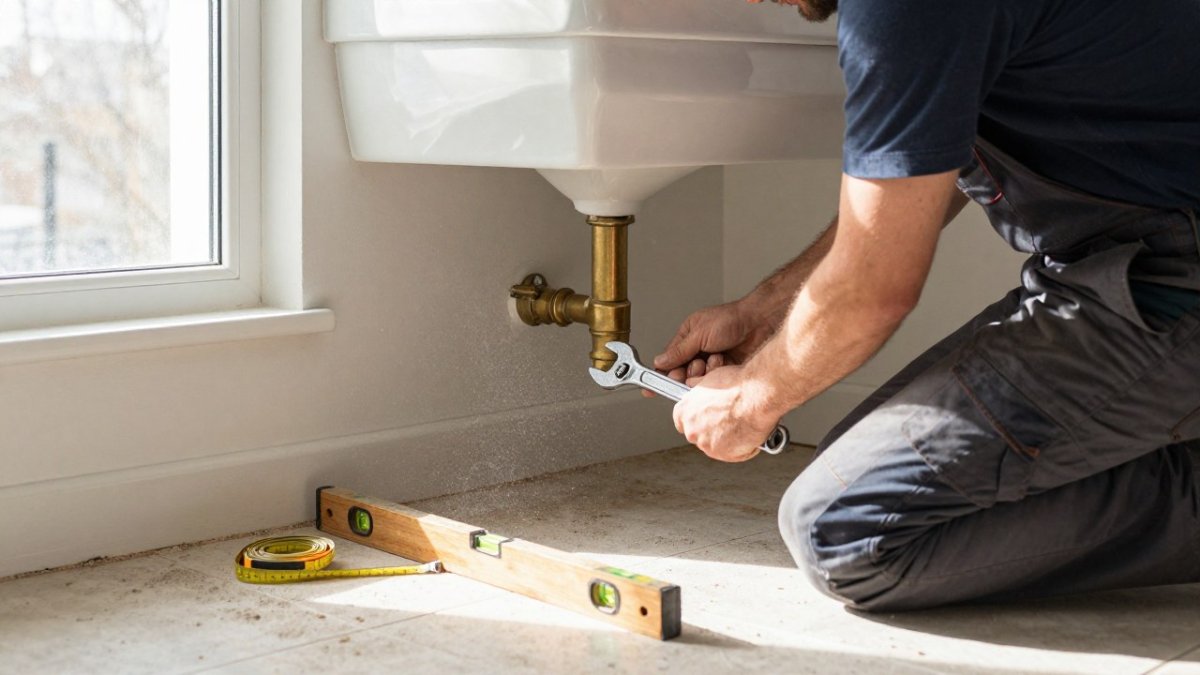
- Rough-in plumbing and electrical. Move supply and drain lines, set the valve, and run the exhaust fan and lighting circuits. This is the step that is expensive to redo, so get it inspected now.
- Waterproof the wet areas. Apply a bonded waterproofing membrane over the shower walls and floor, and tie it into the drain flange. This step is not optional and not skippable.
- Tile and finishes. Install tile, then grout and seal, then set the fixtures, then the accessories. Tile before the vanity and toilet go back in, not after.
- Final inspection and clean-up. Book the final inspection, then clean and cure before first use.
DIY versus hiring a licensed trade
A task-by-task split keeps the budget honest without risking the parts that fail silently:
- Reasonable DIY: demolition, painting, installing a vanity in the same location, hanging a mirror or accessories, and sealing grout.
- Hire a licensed plumber: any change to supply or drain lines, valve replacement, and the shower drain connection. Plumbing work that touches the drain or supply typically requires a licensed plumber; confirm permit requirements with your local authority.
- Hire a licensed electrician: new circuits, in-wall lighting, the exhaust fan, and any work inside the wet zone. Electrical work often requires permits and inspections; check with your local authority.
If budget worry is your main concern, planning the scope carefully before work begins helps limit overruns. Our guide on how to prevent budget overruns on bathroom renovations explains how to keep costs in check during the build. In general, the trades whose work is hidden behind tile are the ones not to cut.
The order of work matters most in a small bathroom, so here is the sequence the article recommends to avoid rework.
| Step | What to do |
|---|---|
| 1 | Plan and quote; lock design and fixture schedule |
| 2 | Check permits and inspection timing |
| 3 | Demolish and protect the rest of the home |
| 4 | Rough-in plumbing and electrical, then inspect |
| 5 | Waterproof wet areas with a bonded membrane |
| 6 | Tile, grout, seal, then set fixtures and accessories |
| 7 | Final inspection, clean-up and cure |
Small Bathroom Remodel Before and After: What to Expect
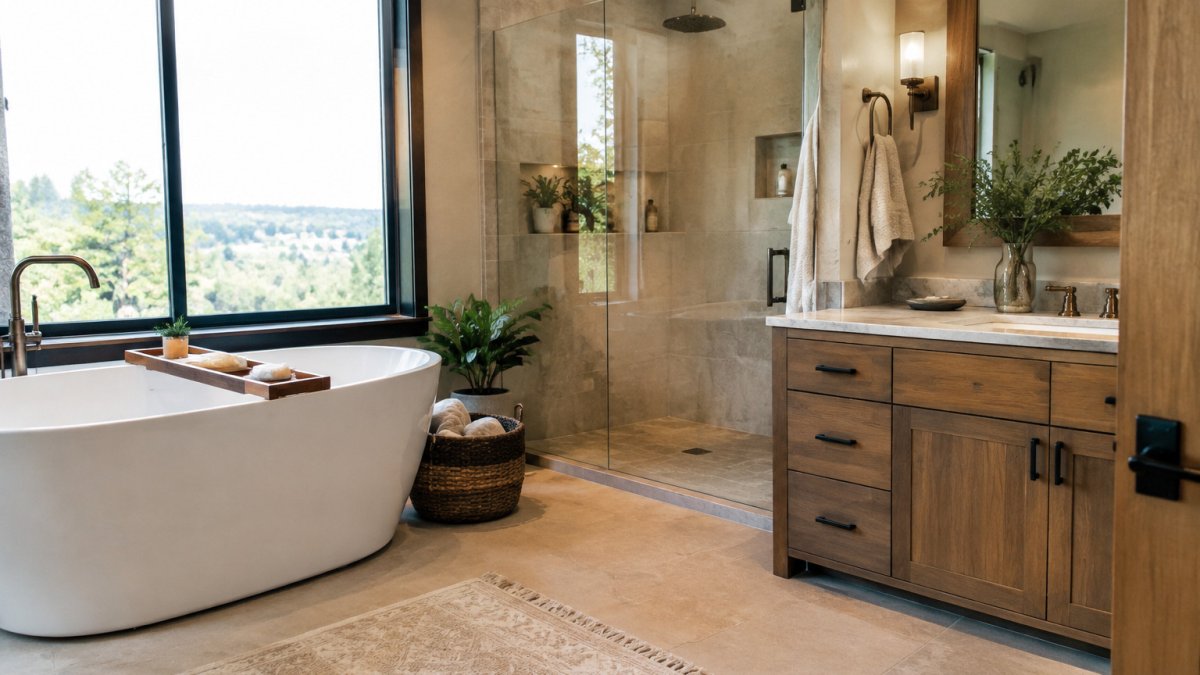
The before-and-after difference often comes from removing clutter and wasted space rather than adding floor area.
Typical changes in small bathroom remodels include:
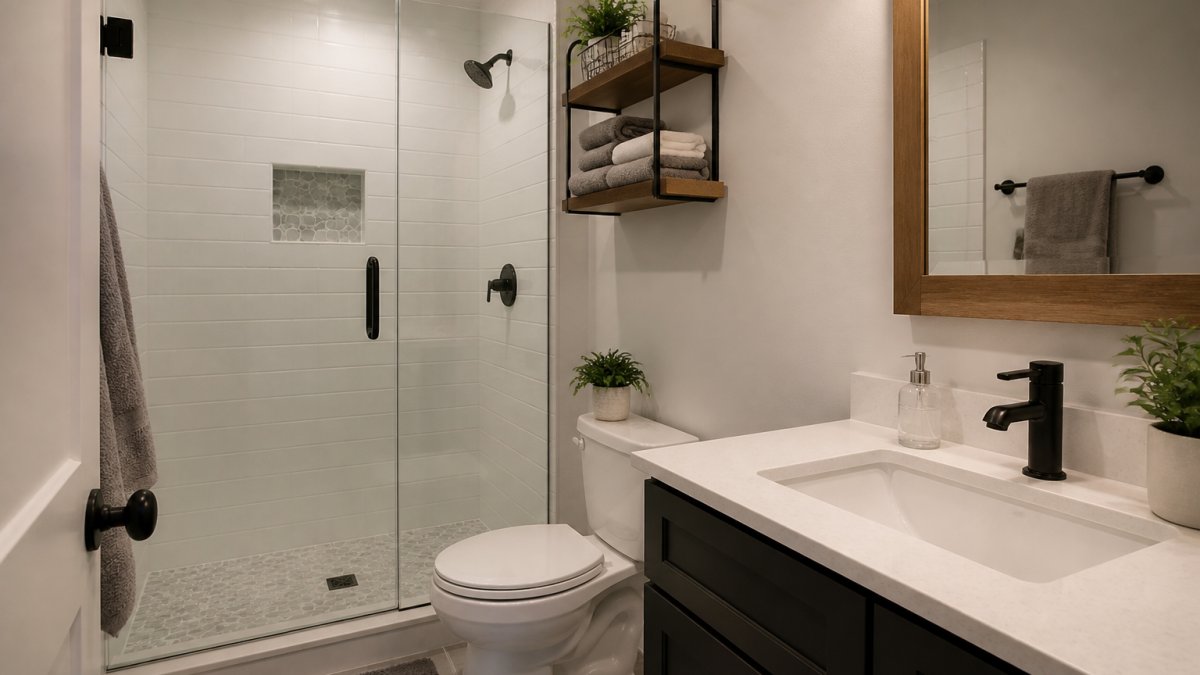
- A dark, cluttered room becomes bright and open with light tile and wall storage.
- A swinging door becomes a pocket door, freeing usable floor.
- A boxed vanity becomes a floating one, revealing floor underneath.
Timelines depend on scope, permits and trade availability, so each project is best quoted on its own.
A common mistake is judging the plan by showroom photos rather than by how the room will function day to day.
A compact bathroom can feel twice as big without adding a single square metre, but only if the layout, storage and waterproofing are planned together.
Frequently Asked Questions
How much does it cost to remodel a small bathroom?
Cost depends on how much plumbing and electrical work moves, the fixtures you choose and whether the subfloor or waterproofing needs repair. A cosmetic refresh with a new vanity, tile and paint sits at the low end; a full remodel that relocates the toilet or converts a tub to a walk-in shower sits higher. Detailed written quotes with clear cost and timeline transparency are available from CompleteBathrooms; visit the website for current pricing or a quote.
What is the best shower base for a small bathroom?
A low-profile acrylic or cultured stone base sized to the alcove is usually the practical pick: it is lightweight, warm underfoot and easy to clean. A tiled shower floor with a linear drain gives a seamless look and suits a wet-room layout, but it costs more and depends on correct waterproofing. Measure the alcove width and depth first, then choose the base that fits without custom framing.
How long does a small bathroom remodel take?
Timelines depend on whether walls move, whether plumbing is rerouted and how quickly fixtures and tile arrive. Ordering materials before demolition starts is the single biggest time saver. Ask for the schedule in writing with milestones so you know when the bathroom will be usable again.
Can a small bathroom layout be changed without knocking down walls?
Often yes. Swapping a tub for a walk-in shower, replacing a pedestal sink with a wall-mounted vanity, or moving the toilet a short distance within the same wet wall can free up floor space without structural work. The limit is the drain and vent stack: fixtures must stay close to existing plumbing unless you accept the cost of rerouting.