 how-to
7 Accessible Bathroom Upgrades on a Budget That Work
Last Updated: November 5, 2026
Quick Summary
Rank accessible bathroom upgrades by safety impact, not looks: grab bars and support rails come first, then non-slip flooring and a shower mat, a handheld showerhead, a shower seat, and a comfort-height toilet. Fix the highest-risk fall point first, then re-assess before spending on larger projects.
- Grab bars must anchor into studs or proper blocking, never hollow drywall with plastic anchors.
- Usually DIY: adhesive non-slip strips, handheld showerhead swaps, raised toilet seats, shower chairs, and night lights.
- Hire a qualified installer for grab bars into tile, blocking, plumbing changes, and structural or doorway work.
- Test each grab bar with your full body weight and re-check fasteners after the first few weeks.
- Bathroom accessibility renovation grants require proof of need and receipts, and approval can take time.
Table of Contents
- Start With a Plan: Prioritizing Accessible Bathroom Upgrades by Budget
- Affordable Bathroom Safety Upgrades That Deliver the Most Impact
- Bathroom Grab Bar Installation: Placement, Anchoring, and Safety Checks
- Accessible Shower Upgrades: Low-Threshold Showers, Seating, and Handheld Heads
- Non-Slip Flooring and Fall Prevention for Every Mobility Need
- Comfort-Height Toilets and Small-Bathroom Layout Changes
- Bathroom Accessibility Renovation Grants and Funding Options
- Get a Transparent Quote for Your Accessible Bathroom Upgrade
- Frequently Asked Questions
Start With a Plan: Prioritizing Accessible Bathroom Upgrades by Budget
An accessible bathroom is a space designed so people with limited mobility can use it safely and without help. For many homeowners, the goal of accessible bathroom upgrades on budget comes down to one question: what do I fix first when money is tight?
The answer is to rank upgrades by safety impact, not by how they look. A grab bar near the toilet costs little and prevents a serious fall.
Here is the order we recommend:
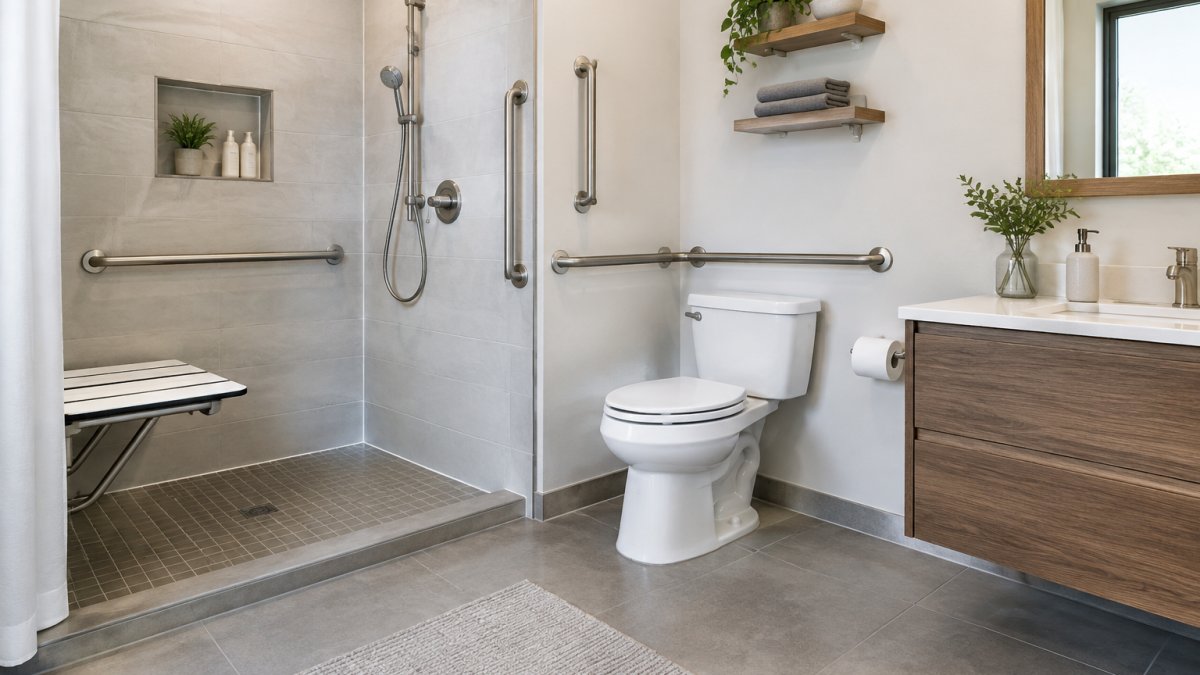
- Grab bars and support rails, highest safety return, lowest cost
- Non-slip flooring and a shower mat, cheap, fast, and effective
- A handheld showerhead, low cost, big comfort gain
- A shower seat or bench, moderate cost, major independence boost
- A comfort-height toilet, moderate cost, easier every day
- Low-threshold shower conversion, larger project, biggest lifestyle change
- Layout and doorway changes, full remodel territory
Budget tiers: what to do first, next, and later
It can help to think in three tiers rather than one long list. The tiers below describe general scope, not fixed quotes; get a written estimate before you commit.
Mid-range tier (cost depends on fixtures and labor): a handheld showerhead on a slide bar, a fold-down or built-in shower seat, a comfort-height toilet, and a slip-resistant floor coating or tile replacement in the wet zone.
Larger-project tier: a low-threshold or walk-in shower conversion, doorway widening, a pocket door, and layout changes to improve turning space.
A simple decision framework
Ask three questions before you spend: Where does the person currently struggle most (entry, toilet, or shower)? Which of those struggles carries the highest fall risk? What is the smallest change that removes that risk? Fix the highest-risk item first, then re-assess.
Two more things shape the plan. First, decide what you can safely install yourself and what needs a professional. Grab bars should anchor into studs or proper blocking. Second, set aside a contingency amount before you start.
For a wider view of how these changes pay off, read our guide to the 7 benefits of aging in place bathroom remodel. If you want to protect your budget from surprises, our tips on how to prevent budget overruns on bathroom renovations are worth reading before you commit to anything.
Rank upgrades by safety impact, not looks, using this recommended order.
| Priority | Upgrade | Why it ranks here |
|---|---|---|
| 1 | Grab bars and support rails | Highest safety return, lowest cost |
| 2 | Non-slip flooring and a shower mat | Cheap, fast, and effective |
| 3 | A handheld showerhead | Low cost, big comfort gain |
| 4 | A shower seat or bench | Moderate cost, major independence boost |
| 5 | A comfort-height toilet | Moderate cost, easier every day |
| 6 | Low-threshold shower conversion | Larger project, biggest lifestyle change |
| 7 | Layout and doorway changes | Full remodel territory |
Affordable Bathroom Safety Upgrades That Deliver the Most Impact
The cheapest affordable bathroom safety upgrades are the ones that stop a fall before it happens.
Start with these:
- Grab bars beside the toilet and inside the shower
- A non-slip mat or adhesive strips in the tub and on the floor
- A raised toilet seat that clips onto the existing bowl
None of these require a full renovation. The key is to fix the highest-risk spots first: the shower floor, the toilet, and the path in and out of the room.
A grab bar is only as good as its anchor. We will cover that next.
Bathroom Grab Bar Installation: Placement, Anchoring, and Safety Checks
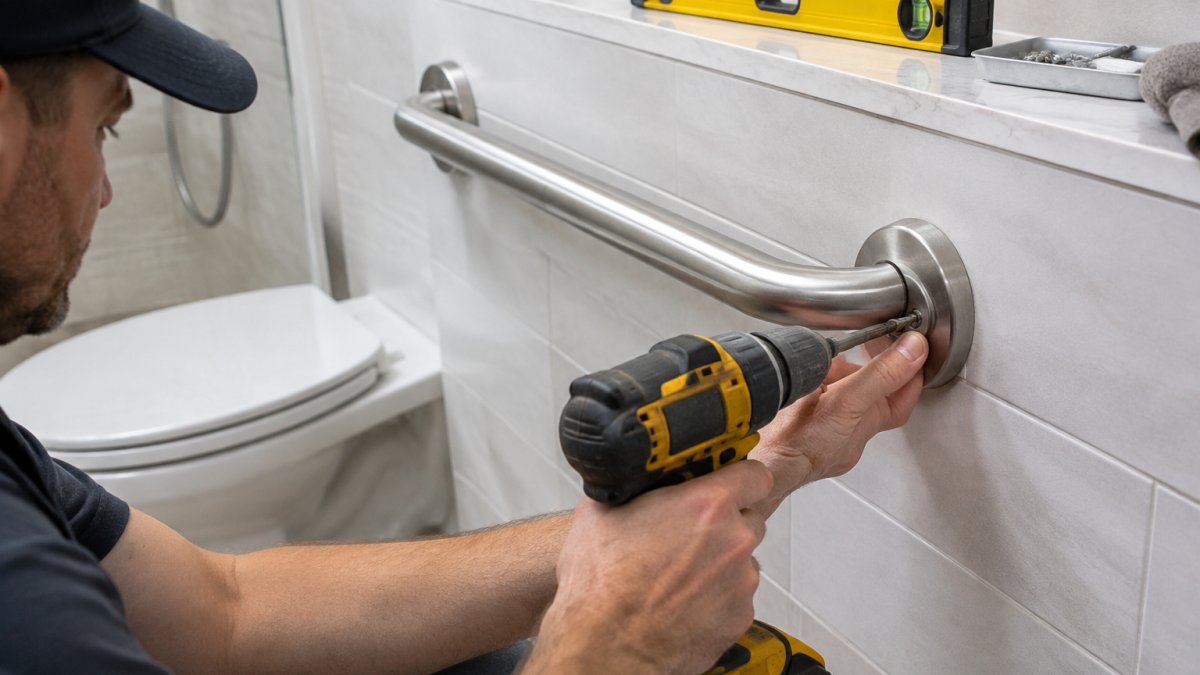
Bathroom grab bar installation is where budget upgrades succeed or fail. A bar screwed into drywall alone will not hold a person's weight. It must fasten into wall studs, or into blocking added behind the drywall.
Placement that actually works
Placement matters as much as the anchor. A common pattern is to set horizontal bars at roughly seated shoulder height, but the right height depends on the user, so measure the person who will rely on the bar rather than guessing.
- Beside the toilet: a horizontal bar on the side wall, plus a vertical bar if space allows, so the user can pull up and push off
- Inside the shower: a vertical or angled bar near the entry, and a second bar along the back wall
- At the tub: a bar along the back wall and one at the entry point for stepping over the rim
Keep bars within easy reach of the fixture they serve, and leave enough clearance so hands do not scrape the wall.
Anchoring: the part that decides whether it holds
Before you drill, check for studs with a stud finder. If there are none where you need them, you have three options: add blocking behind the finished wall (best, but requires opening the wall), use a floor-to-ceiling safety pole (no wall anchoring needed), or install a bar designed for hollow-wall mounting with rated toggle hardware, which is acceptable only when the manufacturer's load rating matches the use.
Watch out: mounting a grab bar into hollow drywall with plastic anchors is a common and dangerous mistake. It can feel solid at first and fail under real load.
DIY versus professional
Some of this work is genuinely DIY-friendly and some is not. A reasonable split:
- Usually DIY: adhesive non-slip strips, a handheld showerhead swap, a raised toilet seat, a shower chair, and a night light.
- DIY only if you are confident and have the right tools: grab bars where studs are easy to locate and the wall finish is simple to repair.
- Hire a qualified installer: grab bars into tile or unknown substrates, blocking installation, any plumbing change, and any structural or doorway work. Tile work in particular is easy to crack and hard to match.
If you are not confident about what is behind the tile, have a professional check it. A wrong guess here can cause an injury.
Safety checks before you call it done
Pull hard on each bar in the direction a falling person would load it, not just downward. Check that every fastener is snug and that the bar does not rotate. Confirm the shower floor and tub surface are not slick when wet, and test any new seat for stability. Re-check fasteners after the first few weeks of use, since hardware can loosen as it settles.
Accessible Shower Upgrades: Low-Threshold Showers, Seating, and Handheld Heads
Accessible shower upgrades remove the biggest barrier in most bathrooms: the tub edge.
Three changes do most of the work:
- A low-threshold shower base for easier entry
- A built-in or fold-down shower seat so nobody has to stand the whole time
- A handheld showerhead on a slide bar, so washing is easier at any height
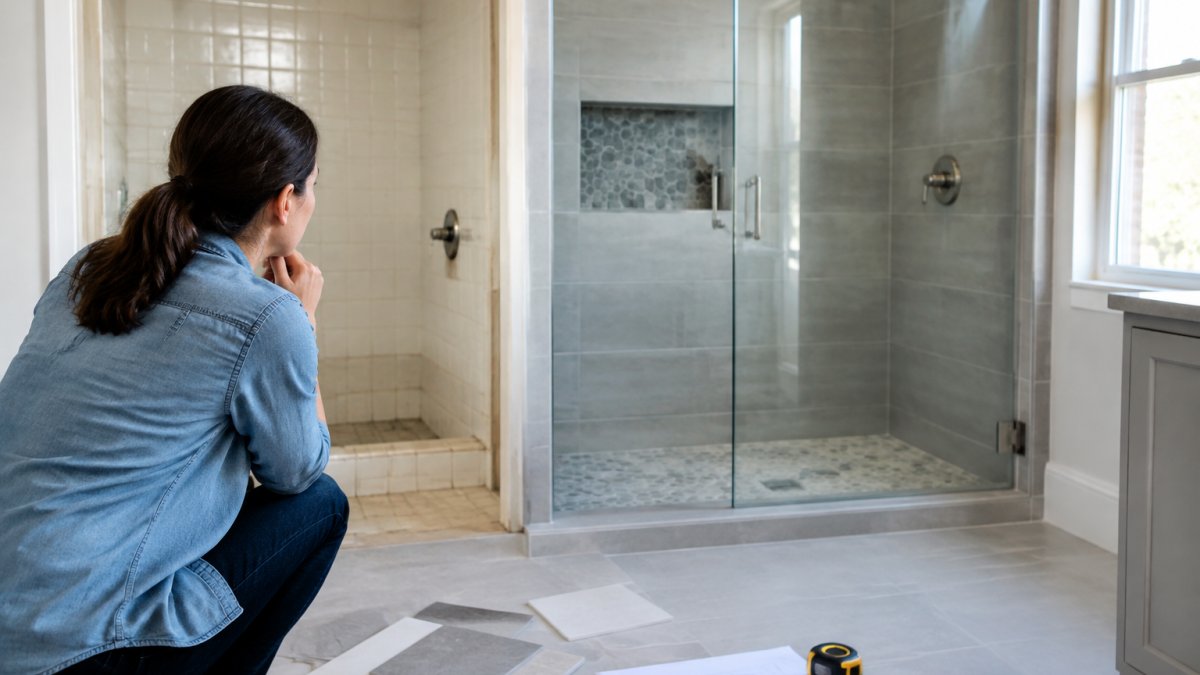
A tub-to-shower conversion is a larger project. If you want to understand the scope before you commit, our step-by-step guide on how to install a walk-in shower walks through the process.
For a smaller budget, a handheld showerhead and a sturdy shower chair are good places to start.
Non-Slip Flooring and Fall Prevention for Every Mobility Need
Fall prevention starts at floor level. Wet tile is slick, and it is where most bathroom slips happen.
Practical options include:
- Textured or slip-resistant tile for a full floor replacement
- Adhesive non-slip strips for a quick, low-cost fix
- A rubber-backed bath mat outside the shower
Slip-resistant surfaces are graded, so ask about the rating when you shop. A higher slip rating costs a little more but lasts far longer than stick-on strips.
Accessibility needs go beyond aging. Someone recovering from surgery, a person using a wheelchair, or a child with limited balance all benefit from the same changes.
Comfort-Height Toilets and Small-Bathroom Layout Changes
A comfort-height toilet sits taller than a standard one, so sitting down and standing up takes less effort. For anyone with knee, hip, or balance issues, that small difference adds up over every single day.
In a small bathroom, layout changes decide what is possible. A few moves that help:
- A corner or wall-hung sink to free up floor space
- Offset or compact fixtures to widen the walking path
- A pocket door that swings out of the way
If your bathroom is tight, you do not always need to knock down walls. Our guide on how to plan a modern small bathroom remodel shows how to make a small room work harder.
Bathroom Accessibility Renovation Grants and Funding Options
Bathroom accessibility renovation grants can stretch a tight budget, but programs and eligibility rules change. We do not quote amounts here because the details vary and shift.
Where to look:
- Federal home accessibility programs for seniors and people with disabilities
- Provincial and territorial supports for home modifications
- Municipal or regional programs in your area
Most programs ask for proof of need, income information, and sometimes a professional assessment. Apply early, because approval can take time.
For official program details, start with Employment and Social Development Canada and your provincial government's housing pages. The Canada Mortgage and Housing Corporation also publishes guidance on home modifications and accessibility.
Get a Transparent Quote for Your Accessible Bathroom Upgrade
You should know what you are paying before work starts. A transparent quote lists labor, materials, and a clear timeline, with no vague line items that grow later.
Ask every contractor these questions:
- What is included, and what is not?
- How do you handle hidden damage found behind the walls?
- What is the realistic timeline?
At CompleteBathrooms, we build detailed quotes with clear cost and timeline transparency, so you get confidence and clarity from the first visit.
For local pricing context before you call, see what a bathroom renovation costs in North Bay in 2026.
Frequently Asked Questions
What are the most affordable ways to make a bathroom more accessible?
Start with the lowest-cost, highest-impact changes: a non-slip mat or slip-resistant coating, a raised toilet seat, and a handheld showerhead on a flexible hose. Adding a shower chair and one or two well-anchored grab bars comes next. These minor upgrades are generally less involved than a full remodel. For anyone with limited mobility, a walk-in or low-threshold shower is the bigger investment to plan for later.
Can I add grab bars to an existing bathroom without a full renovation?
Yes. Grab bars can be retrofitted to most existing bathrooms. The key is anchoring them into wall studs or using proper blocking and toggle bolts rated for the load, not just drywall. A bathroom grab bar installation done correctly keeps the bar secure under a person's full weight. Choose a location beside the toilet and inside the shower, and check that the mounting surface can carry the load before drilling.
Are there grants or financial assistance for accessibility renovations?
Several programs can help offset the cost of an accessible bathroom. In Canada, some federal, provincial or territorial, municipal, and nonprofit programs may offer funding for accessibility work. Check current eligibility rules directly with each program. Ask your contractor for documentation and get quotes early, since most programs require approval before work begins.
What is the cheapest way to make a shower more accessible?
A handheld showerhead with a long hose, a shower chair or bench, and a non-slip mat or slip-resistant treatment on the shower floor are a practical starting point. If stepping over a tub is the main barrier, a tub-to-shower conversion with a low-threshold base is a larger project to plan for. Prioritize the change that addresses the specific difficulty, then add the smaller items around it.
A safer bathroom does not have to mean a full remodel or a blown budget. Start with the upgrades that prevent falls, then build from there as your budget allows. CompleteBathrooms can assess your space, recommend the right order of work, and deliver a detailed quote with clear costs and timelines. Get started with CompleteBathrooms and turn your bathroom into a safer, easier space to live in.