 how-to
How to Install a Walk-In Shower Step by Step
Last Updated: October 26, 2026
Quick Summary
A walk-in shower installation starts with measuring your layout, then moves through demolition, subfloor prep, a sloped shower pan, waterproofing with a 24-hour flood test, tiling, and glass. A comfortable walk-in shower needs at least 900 mm by 900 mm, and the full job typically takes one to two weeks.
- A walk-in shower has a low curb, usually 100-150 mm high, while a curbless shower sits flush with the floor.
- The floor must fall toward the drain at roughly 6 mm per 300 mm of run.
- The flood test requires filling the pan and leaving it for 24 hours before tiling.
- Measure the glass opening after tiling, not before, since tile thickness changes the number.
- Demolition and disposal typically costs $500-$1,500 CAD, and labour runs $3,000-$8,000 or more.
Table of Contents
- Planning Your Walk-In Shower Layout and Dimensions
- Removing the Old Tub or Shower and Preparing the Subfloor
- How to Install a Shower Pan and Build the Floor Slope
- Shower Waterproofing: Membranes, Liners and Flood Testing
- Tiling the Walls and Floor and Sealing the Enclosure
- What Drives Walk-In Shower Installation Cost
- Walk-In Shower Installation Time and Realistic Scheduling
- Booking a Walk-In Shower Installation You Can Trust
- Frequently Asked Questions
Planning Your Walk-In Shower Layout and Dimensions
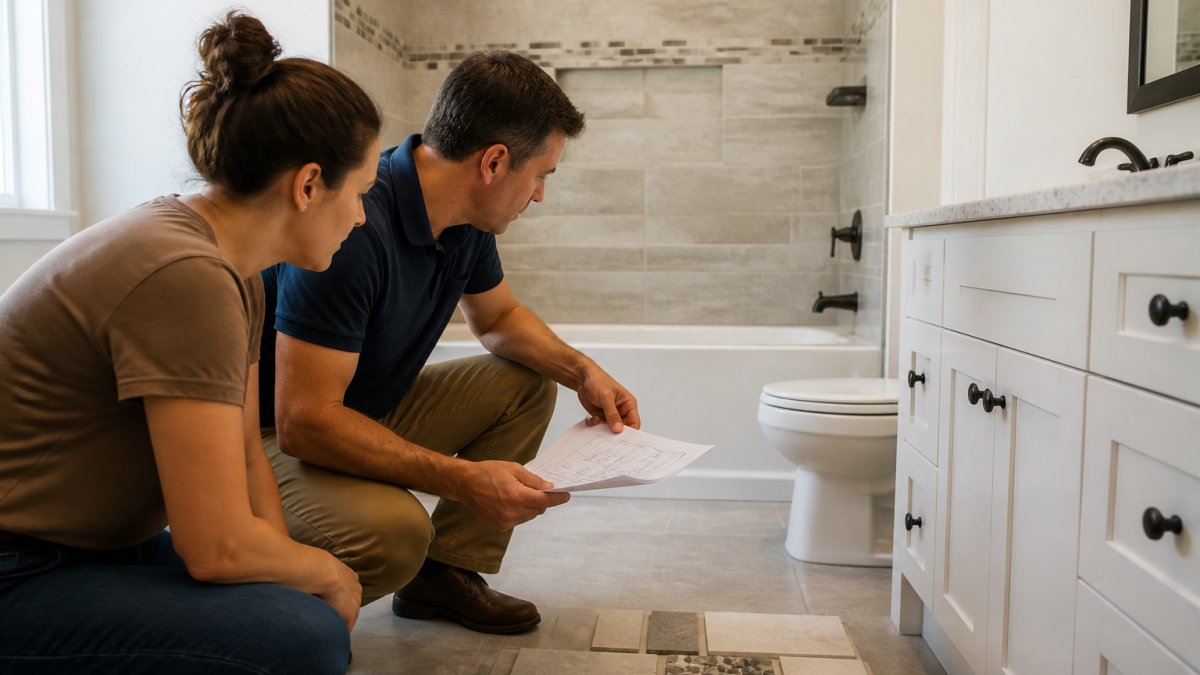
A walk-in shower installation starts with measurements, not demolition.
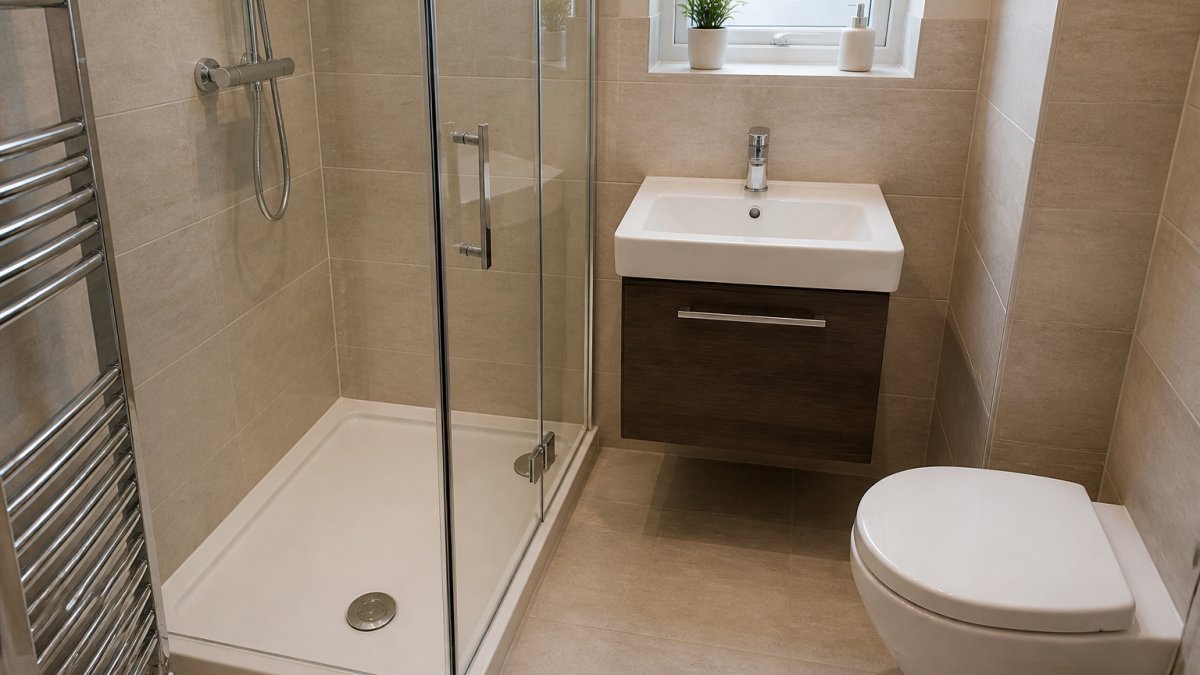
A comfortable walk-in shower needs at least 900 mm by 900 mm; anything smaller and you will fight the walls every morning.
Walk-in shower layouts fall into three common shapes:
- Alcove: three walls, one glass panel. Best for tight rooms.
- Corner: two walls, two glass sides. Good for square footprints.
- Walk-through: glass on both ends, open passage. Needs the most floor space.
Measure door swing, drain location, and ceiling height before you commit.
If your bathroom is compact, our guide to choosing the best shower base for a small bathroom covers the base options that actually fit tight footprints.
Walk-In vs Curbless: Choosing the Design
A walk-in shower has a low curb, usually 100-150 mm high, that keeps water inside the enclosure.
Curbless looks better but costs more and demands more framing: the floor must be recessed or built up so the finished shower floor sits level with the main floor, adding labour either way.
Choose walk-in if:
- Your subfloor is concrete and you want to avoid major structural work
- You need the lowest reliable cost
- You want a simple, proven drainage setup
Choose curbless if:
- You are planning for aging in place or wheelchair access
- The bathroom is being gutted anyway
- You can absorb the extra framing and waterproofing work
For accessibility, curbless wins every time. A flush entry removes the trip hazard and lets a walker or wheelchair roll straight in.
Removing the Old Tub or Shower and Preparing the Subfloor
Demolition is where hidden problems surface. A tub-to-shower conversion usually reveals water damage around the old drain and behind the tub apron.
Work through it in order:
- Shut off water at the main valve and cap the supply lines.
- Cut the tub into sections with a reciprocating saw, or disconnect a shower base from its drain.
- Pry off old tile and cement board down to the studs.
- Inspect the subfloor for soft spots, rot, or movement.
- Replace any damaged plywood before you go further.
The subfloor must be solid and flat. Tiling over a spongy floor always cracks.
Next, wall preparation.
Check that the floor is level before you build the slope. If it is off by more than a few millimetres, fix it now.
How to Install a Shower Pan and Build the Floor Slope
A shower pan is the pre-formed base under the tile that directs water to the drain. Ready-made pans are faster and more predictable than mortar for most homeowners.
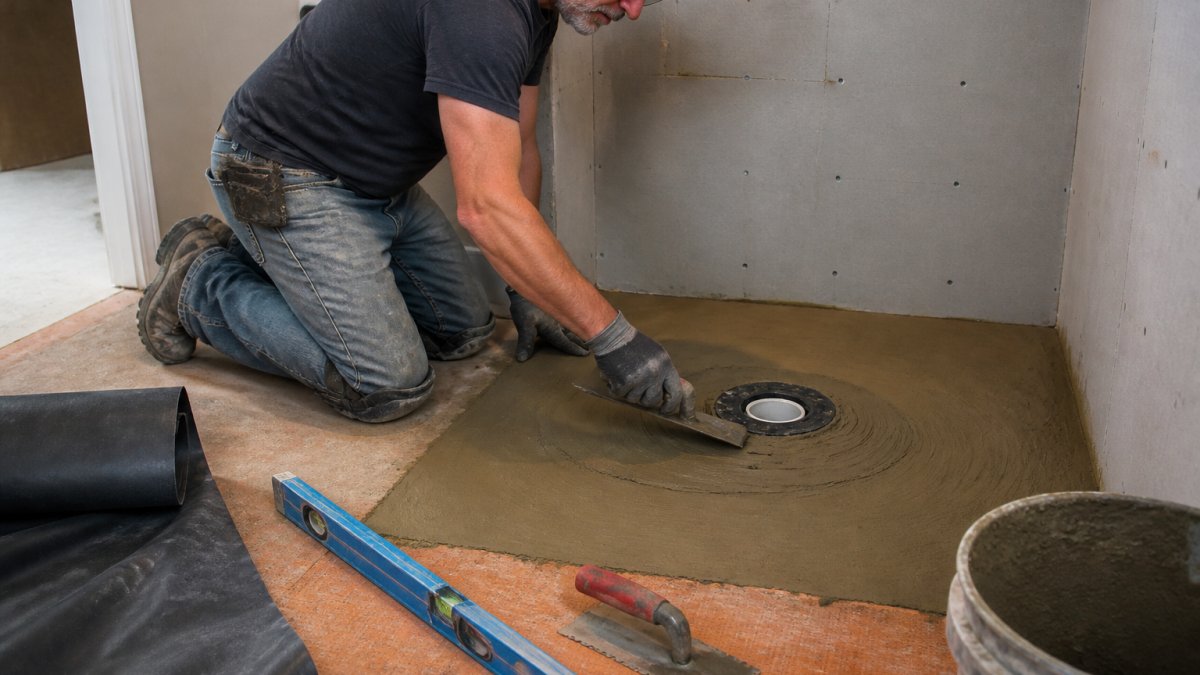
The floor slope is the part that matters most. Water must fall toward the shower drain at roughly 6 mm per 300 mm of run. That is about a quarter inch per foot, the standard most tile setters work to.
Here is the sequence for how to install a shower pan:
- Set the drain so its flange sits flush with the finished floor height.
- Mix mortar to a stiff, sandy consistency, not soupy.
- Pack the mortar around the drain and slope it evenly to the walls.
Drain Assembly and Pre-Slope
The drain assembly has two parts: the lower flange that bonds to the waterproof membrane, and the upper strainer at tile level. Get the height wrong and water pools or the drain sits proud of the tile.
The pre-slope is a thin mortar bed under the waterproof liner. It is not optional. Without it, water that gets past the tile sits on a flat surface and never reaches the drain.
Set the pre-slope first, then the liner, then the final mortar bed. Three layers, in that order.
Shower Waterproofing: Membranes, Liners and Flood Testing
Shower waterproofing decides whether your walk-in shower installation lasts or leaks into the ceiling below. Skip it and you will be tearing out tile within a few years.
The Three Waterproofing Systems Compared
Most residential walk-in showers use one of three approaches. Each has a different failure mode, cost profile, and skill requirement.
- Traditional PVC or CPE liner: a flexible sheet clamped under the drain flange and lapped up the walls, with a moisture barrier behind the cement board. Cheapest in materials. Relies on a perfect pre-slope and careful drain clamping. The most common failure is a puncture or a poorly folded corner that lets water past the liner.
- Sheet membrane: a bonded waterproof sheet (commonly polyethylene or rubberized asphalt) applied directly under the tile over the floor and up the walls. Thinner profile, predictable thickness, and easier to flood test because the surface is already sealed. Joints and corners need proprietary banding and sealant. Higher material cost, lower callback risk.
- Liquid-applied membrane: a trowel- or roller-applied coating that cures into a seamless layer. Good for complex shapes and niches. Requires multiple coats at the manufacturer's specified thickness and a full cure before flood testing. The most common failure is applying too thin or missing a coat at a change of plane.
A practical rule: with a concrete subfloor and a tight budget, a traditional liner with a well-built pre-slope works. If the shower is curbless, has a linear drain, or includes benches and niches, a sheet or liquid-applied membrane is more forgiving because it seals the whole wet area as one continuous surface.
Step-by-Step Flood Test
The flood test is the only way to confirm the membrane holds before tile. Do it after the membrane cures and before the final mortar bed or tile.
- Block the drain with a test plug or inflatable plug seated below the strainer.
- Mark the water line on the wall or membrane with a pencil at the highest point of the shower floor.
- Fill with water to just below the top of the curb or the entry threshold, typically 25-50 mm deep. For a curbless shower, use a temporary dam at the entry.
- Leave it for 24 hours. Do not top up. Note the starting level against your mark.
- Inspect the room below (ceiling, walls, adjacent floor) and the surrounding framing for damp patches, staining, or softening.
- Check the water level. A drop of more than a few millimetres beyond evaporation indicates a leak.
- Pass or fail. No visible dampness and no meaningful level drop is a pass. Any damp patch or significant drop means you locate and repair the breach, then repeat the test.
Drain and Change-of-Plane Details
The drain connection is the most common leak point. With a traditional liner, the lower flange must be clamped over the liner with the manufacturer's gasket and bolts, weep holes clear.
At every change of plane, wall-to-floor, curb-to-floor, niche edges, use the system's proprietary corner pieces or banding, not sealant alone. A common pattern is reinforcing these joints with a flexible membrane strip embedded in thinset before the main membrane coat.
Material and System Compatibility
Waterproofing components are not interchangeable across brands: a drain may not clamp correctly to another brand's membrane, and a liquid membrane may not bond to a sheet membrane without the manufacturer's primer. Pick one system and use its drain, banding, sealant, and corners as a set. If you mix a tile-ready pan with a surface membrane, confirm in writing that the pan manufacturer approves it.
Tiling the Walls and Floor and Sealing the Enclosure
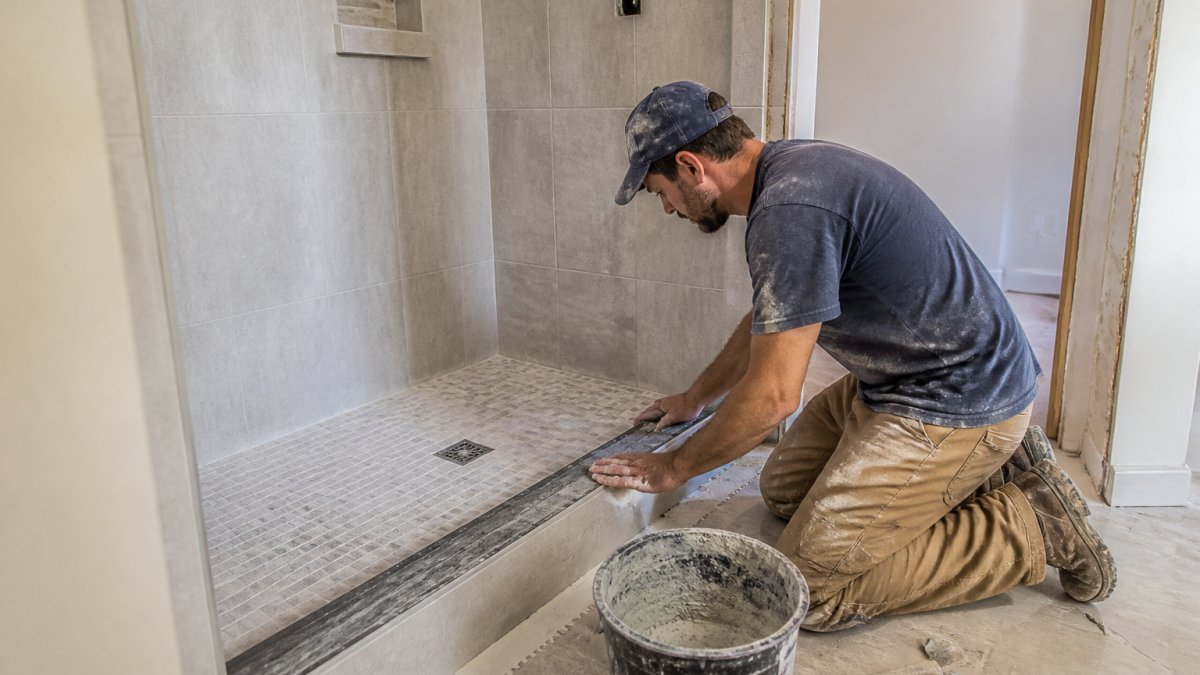
Start with the walls, work top to bottom, and leave the floor tile for last so you are not standing on fresh work.
A few rules that save grief:
- Use a waterproof thinset, not a basic adhesive.
- Back-butter large tiles to get full coverage.
- Keep grout lines consistent and wipe excess before it sets.
The shower enclosure comes next. A frameless glass panel or full glass enclosure opens up the room and lets light through.
Seal the enclosure edges with a quality silicone sealant. This is the last line of defence against water pooling at the frame.
What Drives Walk-In Shower Installation Cost
Walk-in shower installation cost depends on four things: size, drainage, waterproofing method, and finish level.
Itemized Cost Drivers
| Cost Item | Typical Range (CAD) | What Moves It |
|---|---|---|
| Demolition and disposal | $500-$1,500 | Tub removal, tile stripping, dump fees |
| Framing and subfloor repair | $500-$3,000 | Curbless recessing, rot repair, joist work |
| Plumbing rough-in | $800-$2,500 | Moving the drain, new valve, linear drain |
| Shower pan or tile-ready base | $400-$2,000 | Pre-formed pan vs. custom mortar bed |
| Waterproofing system | $300-$1,200 | Sheet vs. liquid vs. traditional liner, plus banding |
| Wall substrate (cement board) | $300-$800 | Board type, square footage |
| Tile and setting materials | $1,000-$5,000+ | Tile choice, large-format, natural stone |
| Glass enclosure | $1,500-$5,000+ | Frameless vs. framed, panel count, fittings |
| Labour (installation) | $3,000-$8,000+ | Scope, region, crew experience |
DIY vs. Professional: Where the Money Goes
A confident DIYer can handle demolition, cement board, and some tile work, but waterproofing and drain assembly are the wrong places to learn.
- DIY-friendly: demolition, disposal, cement board installation, basic tile setting, painting and trim.
- Professional territory: drain assembly, pre-slope and final slope, waterproof membrane installation, flood testing, glass measurement and installation.
- Hybrid approach: hire a plumber for the drain and rough-in, a tile setter for the pan and waterproofing, and do the demolition and finish work yourself. This often lands between full DIY and full professional cost.
What Changes the Number Most
- Curbless vs. walk-in: curbless needs framing work and a linear drain, both of which add labour and material.
- Waterproofing system: surface membranes cost more in materials but reduce callbacks and long-term risk.
- Tile choice: large-format and natural stone take longer to set and require more setting material.
Walk-In Shower Installation Time and Realistic Scheduling
Walk-in shower installation time runs about one to two weeks for a straightforward replacement, and longer when framing, plumbing, or curbless work is involved.
A realistic schedule looks like this:
| Stage | Typical Duration | Notes |
|---|---|---|
| Demolition and prep | 1-2 days | Longer if water damage is found |
| Framing and plumbing | 1-3 days | Curbless adds time here |
| Pan, slope, and waterproofing | 2-3 days | Includes cure and flood test |
| Tiling and grouting | 3-5 days | Depends on tile size |
| Glass, sealant, and finish | 1-2 days | Measure after tile |
The flood test alone needs a full day. Do not let anyone rush it.
A common mistake is booking the glass measurement before the tile is finished. That single error can add a week of waiting.
Booking a Walk-In Shower Installation You Can Trust
The difference between a shower that lasts and one that leaks usually comes down to who installs it.
At CompleteBathrooms, we handle the whole sequence under one team: one point of contact, a detailed quote with clear costs and timelines, and no surprise extras mid-project.
Ready to modernize an outdated bathroom or make it safer to stay in your home? Get started with CompleteBathrooms and a shower you can trust for years.
Frequently Asked Questions
How long does walk-in shower installation take?
A straightforward walk-in shower replacement usually runs one to two weeks of working days, while a tub-to-shower conversion with new plumbing, waterproofing and tile can stretch to three or four weeks. Waterproofing needs curing time between coats, and flood testing adds a day or two before tile goes down. Ask for the schedule in writing, including the days your bathroom will be unusable, so you can plan around it.
Can I install a walk-in shower myself?
Some homeowners handle demolition and tile, but the shower pan, floor slope and shower waterproofing are where DIY jobs fail. A slope that is off by a few millimetres causes water pooling and repeat leaks. If you want to keep costs down, do the tear-out yourself and leave the drain, liner, membrane and flood test to a professional who can warranty the work.
How do you waterproof a walk-in shower?
The floor gets a sloped mortar bed, then a waterproof membrane or plastic liner over it, with the drain clamped to the liner and seams sealed. Walls use cement board covered with a liquid or sheet membrane. Once cured, plug the drain and flood the floor with about 25 mm of water for 24 hours to check for leaks before tiling. Skipping the flood test is the most common cause of hidden water damage.
What drives walk-in shower installation cost?
Cost depends on size, whether you go curbless, the waterproofing system, tile choice and whether plumbing has to move. Removing a tub and reworking the drain adds labor. Curbless designs need extra floor framing and slope work. CompleteBathrooms provides a detailed quote with clear cost and timeline transparency, so you know what is included before work starts rather than discovering extras mid-project.